When it comes to making updates or significant changes to your WordPress site, doing so directly can be risky. This is where a staging site comes in.
It is a perfect clone of your live website where you can safely test changes, troubleshoot issues, and refine updates before deploying them to your main site.
At WPBeginner, we use staging sites to test website updates before publishing them on our live sites. This saves us from potential downtime, broken features, and other complications.
In this step-by-step guide, we will show you how to easily create a staging environment for your WordPress site. We will cover several different methods and most of them only require a few clicks.
What Is a Staging Site?
A staging site is a clone of your live website that is used for testing changes before making them live. Staging sites help you catch errors, so you don’t break your live website.
In the past, it used to be very difficult to set up a WordPress staging site, but now that has changed so even a non-technical person can do it.
A lot of users install WordPress locally on their Windows or Mac computers to test changes. Once they’re done with the updates, they simply upload those changes from localhost to the live server.
The biggest problem with this approach is what if something that worked on your localhost does not work on the live server?
Often the local sites and live WordPress hosting servers are not running in the same environment.
Since the staging site lives on your web hosting server, you can easily prevent all those errors because it runs the same server configuration as your live site.
With that said, let’s take a look at how to set up a staging site for WordPress.
How to Easily Create a WordPress Staging Site
There are multiple ways to create a staging site for WordPress. The easiest is using your hosting provider’s built-in staging site feature.
Some of the best WordPress hosting companies already offer 1-click staging websites. If your website is hosted with one of them, then you can easily create a staging site without any hassle.
If you do not have one of these popular hosting solutions, then we also have a solution to help you create a WordPress staging site using a plugin (and even manually).
For faster browsing, you can use the navigation below to jump to the section that’s most applicable to you:
- Creating a Staging Site on Bluehost
- Creating a Staging Site on SiteGround
- Creating a Staging Site on WP Engine
- Creating a Staging Site Using WordPress Plugin
- Create a Staging Site for WordPress Manually
Creating a Staging Site on Bluehost
Bluehost is one of the best WordPress hosting companies. They offer a quick 1-click staging site solution with all their plans.
First, you must head over to your Bluehost dashboard and visit the ‘My Sites’ section.
Next, switch to the ‘Plugins’ tab and toggle the switch next to the ‘Bluehost Plugin’ option.
After that, head over to your WordPress site dashboard and visit the Bluehost » Staging page.
Now go ahead and click the ‘Create Staging Site’ button.
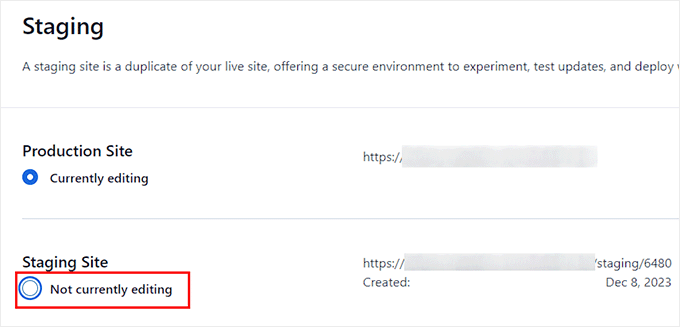
Bluehost will now prepare the staging environment for your website.
Once that’s done, it will display a Staging Site’ section where you must check the ‘Not currently editing’ box.
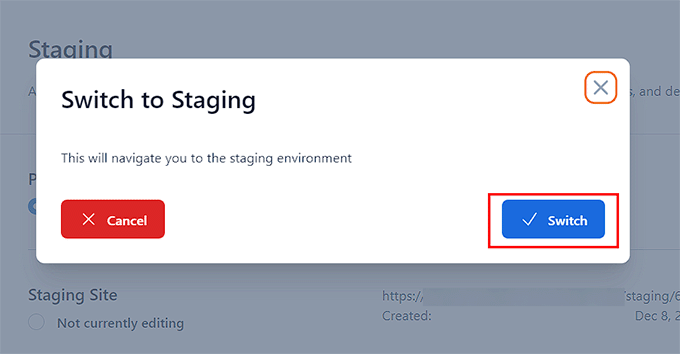
A prompt will now open up on your screen asking you to switch to the staging site.
From here, click the ‘Switch’ button.
Once switched, you will see a button on the screen indicating that you are working on the staging website.
You can go ahead and work on your website without worrying about it affecting your live site.